
This article let you know how to use Facebook Conversions API for your Shopify store.
Before we get to the first step, you first got to have administrator access to your business’s:
- Facebook Business Manager
- Your Business’/Brand Facebook Page
- Facebook and Instagram accounts
Then, do the following:
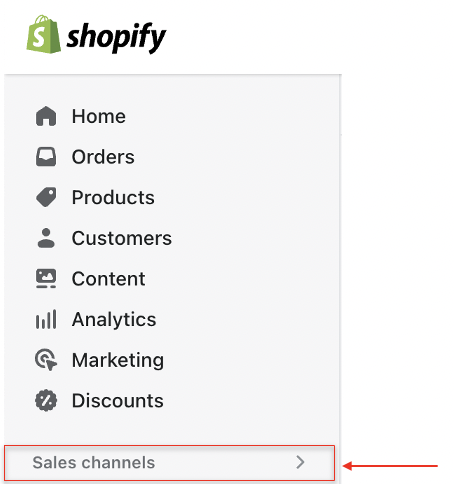
1. Go to your Shopify admin page.2. Click the “Sales Channels” on the left sidebar.
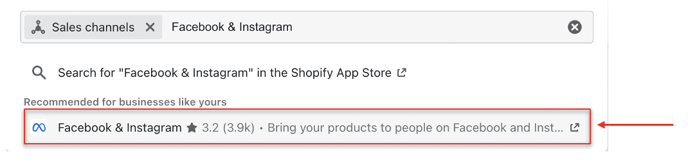
3. Search for “Facebook & Instagram” on the search bar and choose it then a new tab will open.
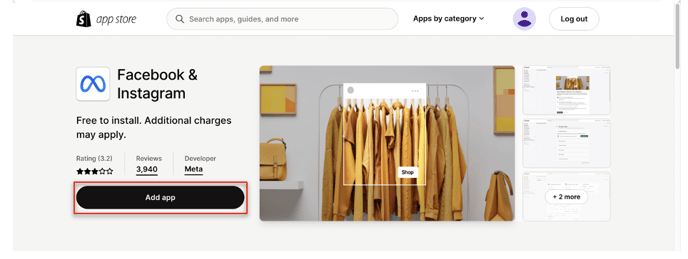
4. Click “Add app” button to begin the installation.
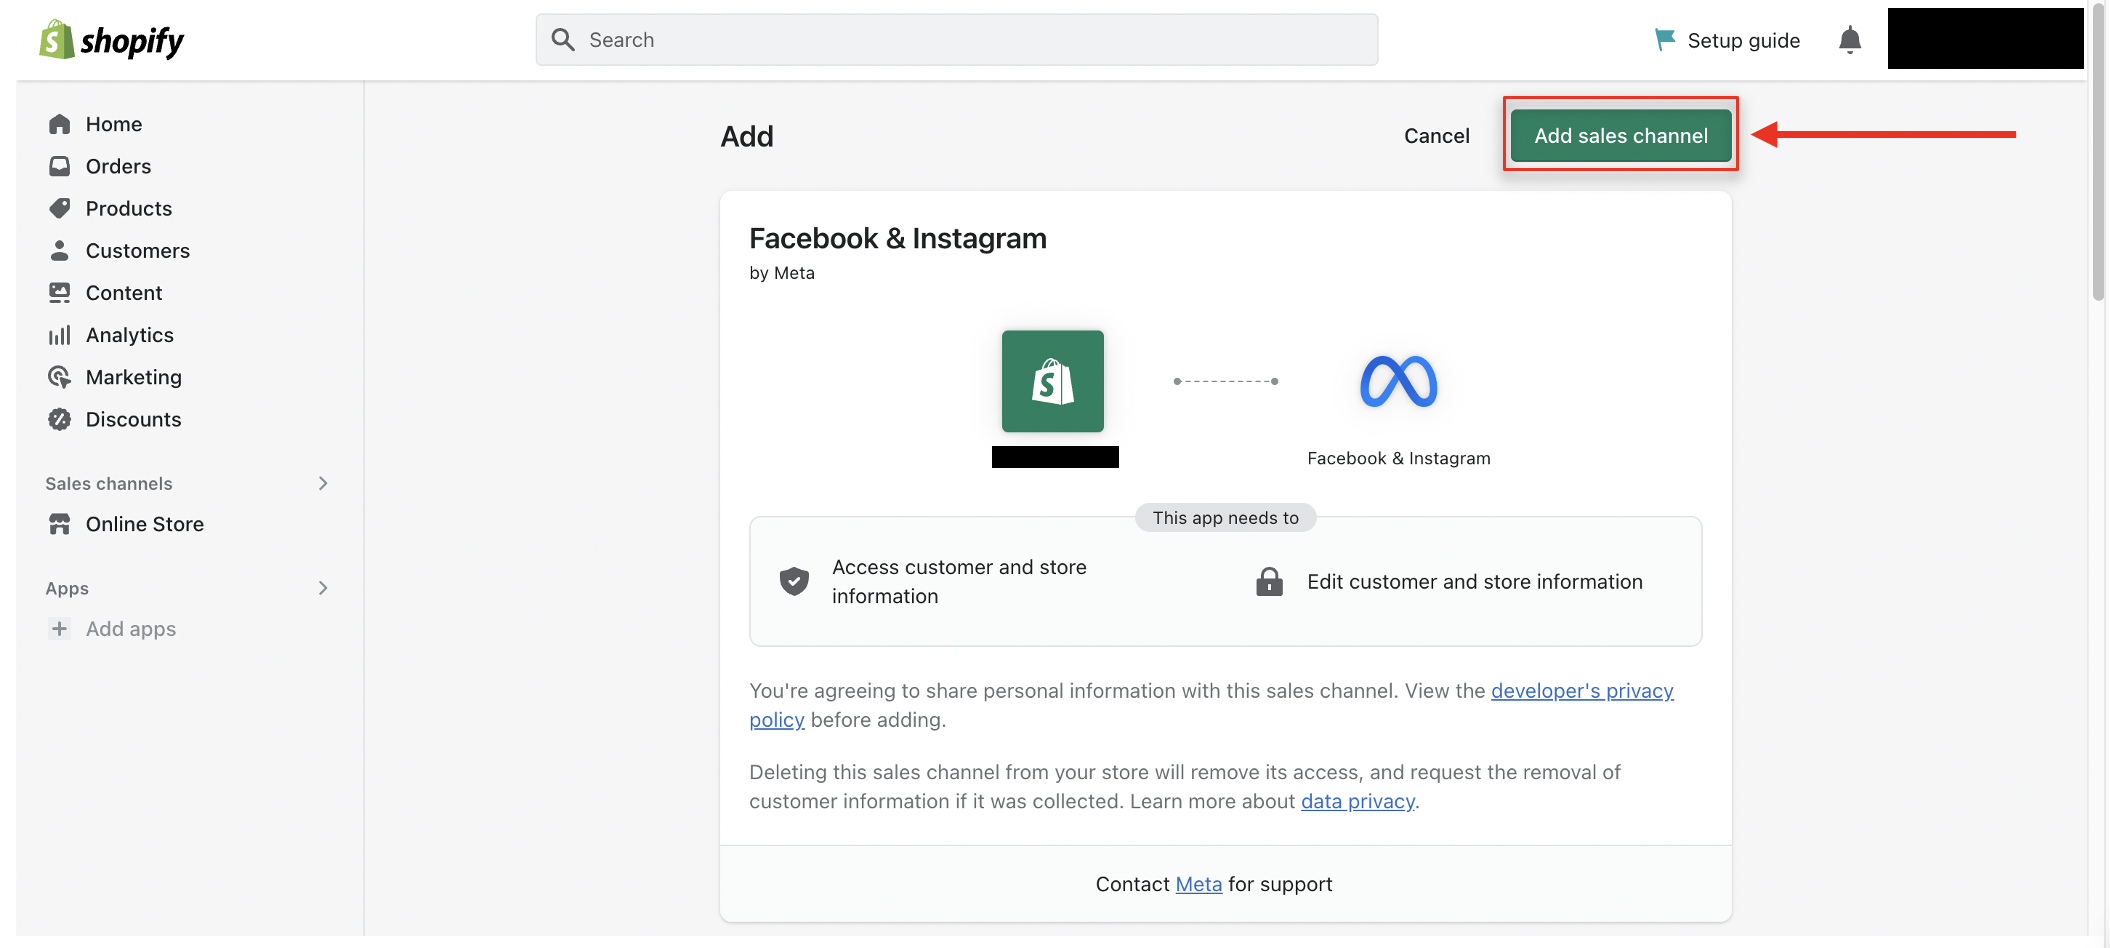
5. Click “Add sales channel” button.
6. Click “Facebook & Instagram” under “Sales Channels” on the left sidebar.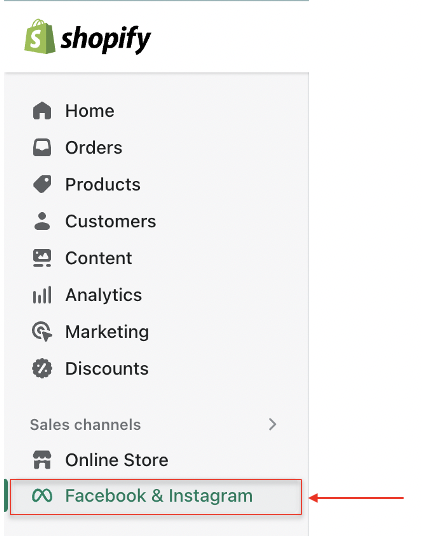
7. Select “Connect account” and sign in to your Facebook account.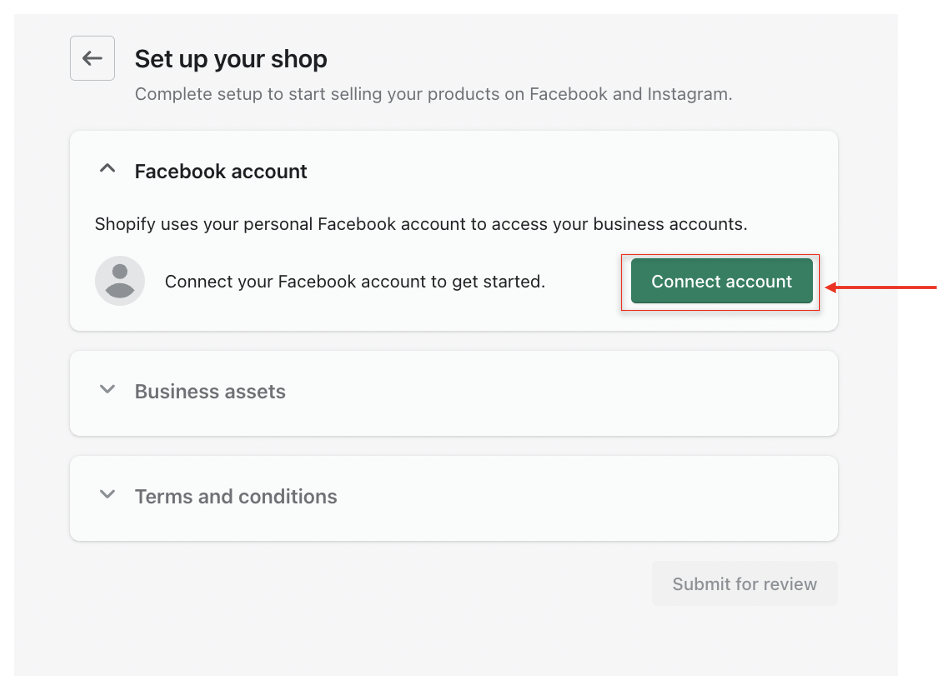
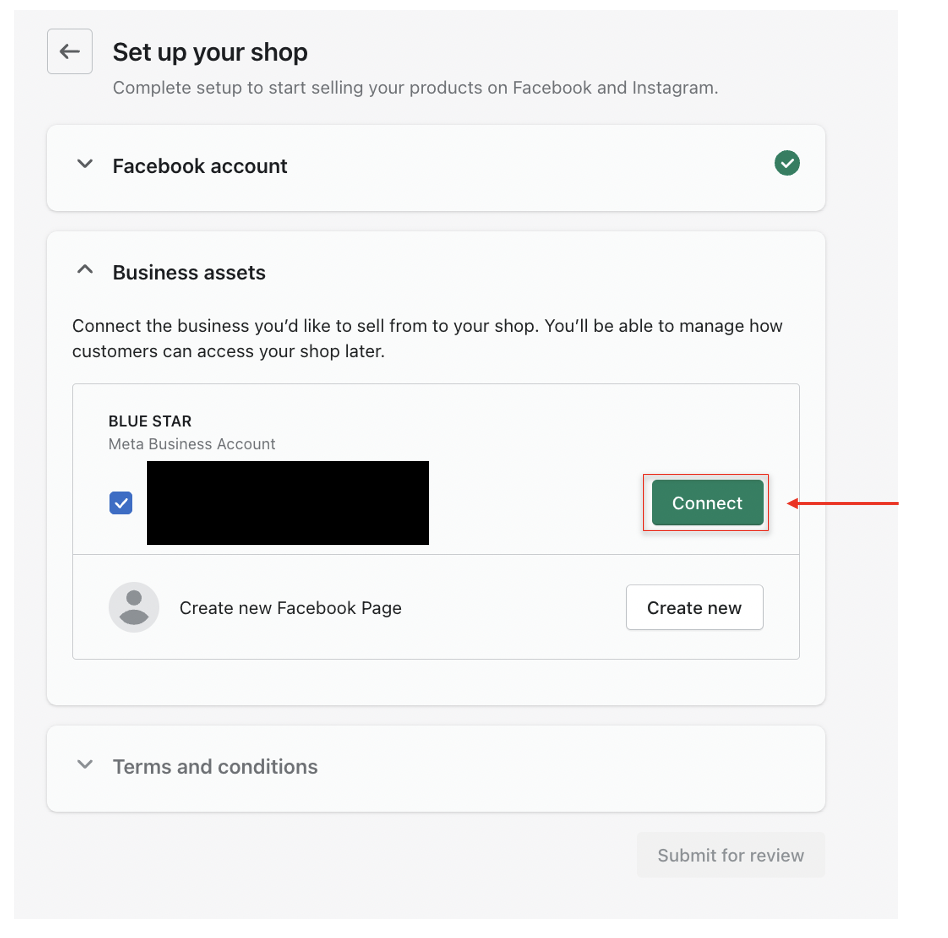
8. Connect the Facebook assets you’d like to use for the features you’d like.
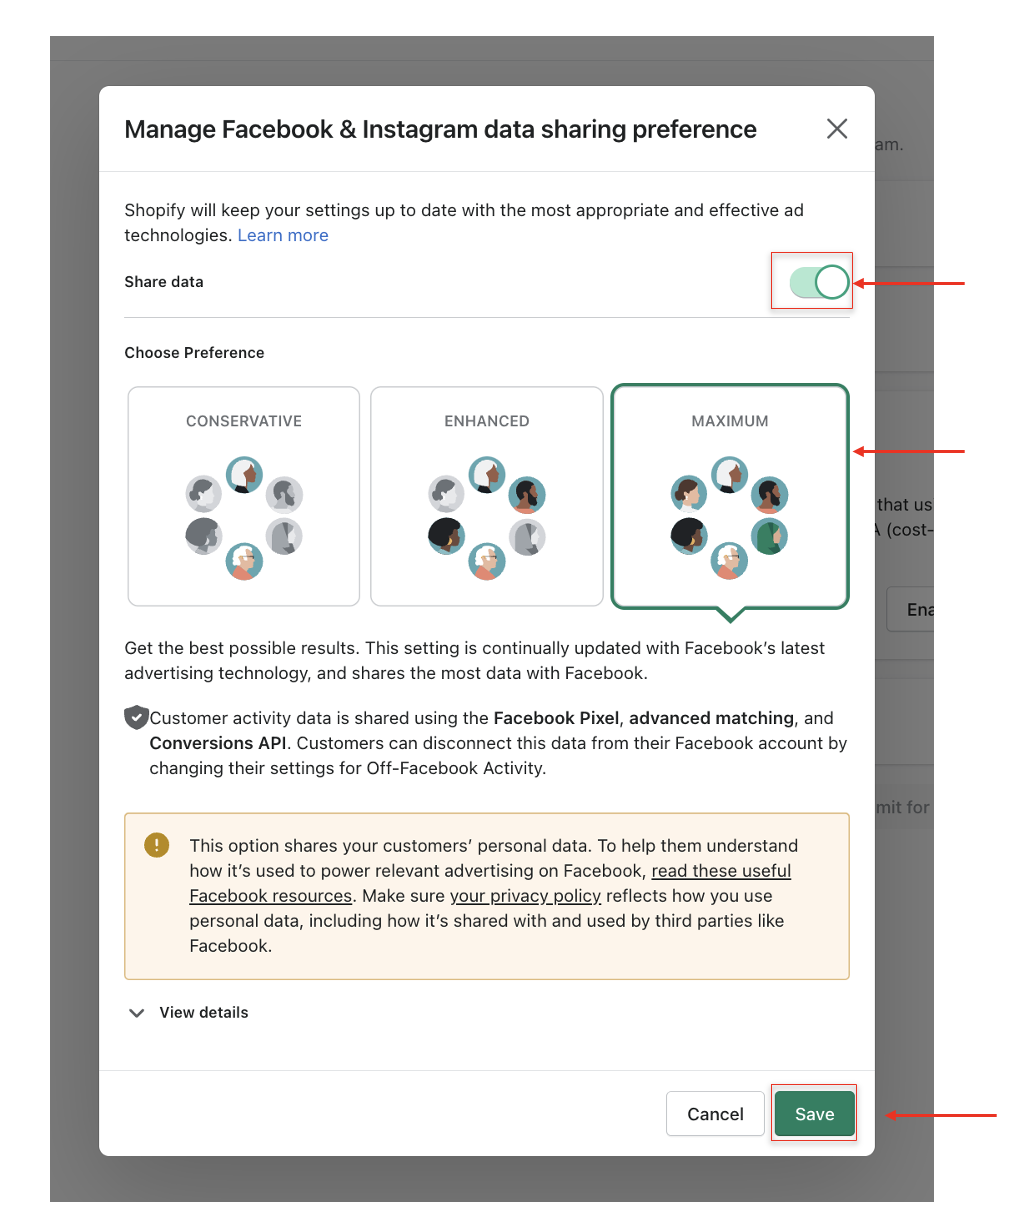
9. Make sure the “Share data” is switched on, and select “Maximum” tracking level. This option enables Conversions API, “Standard” and “Enhanced” does not.
10. Click "Save" button.
11. Accept the terms and conditions.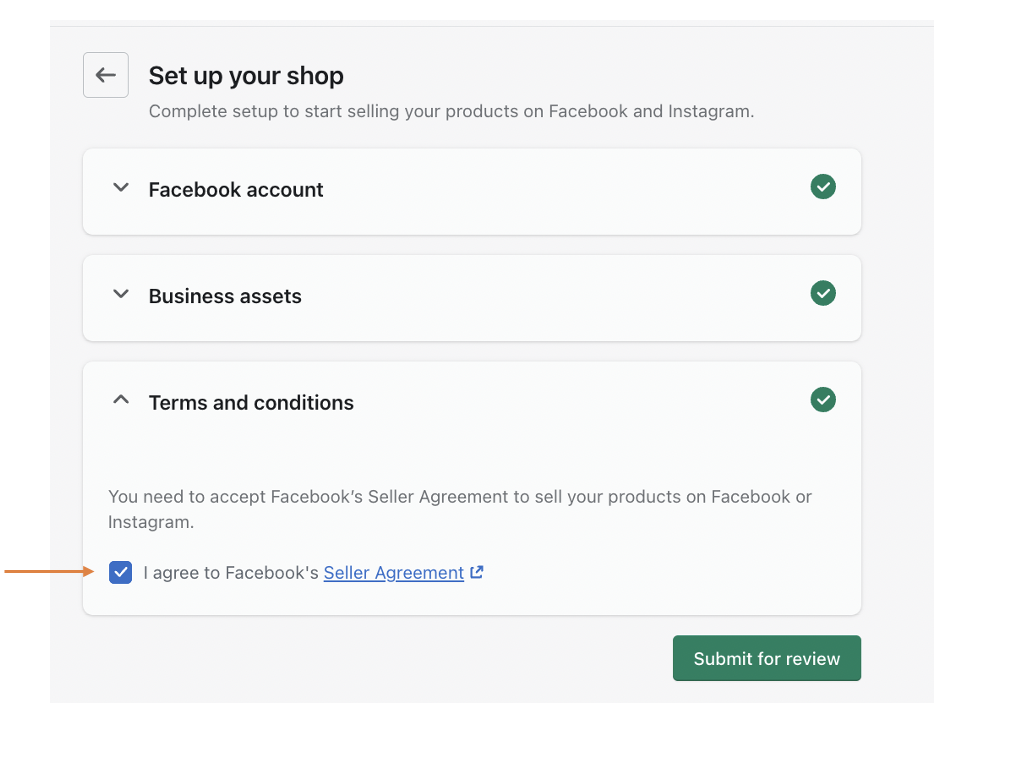
12. Click "Submit for review" button.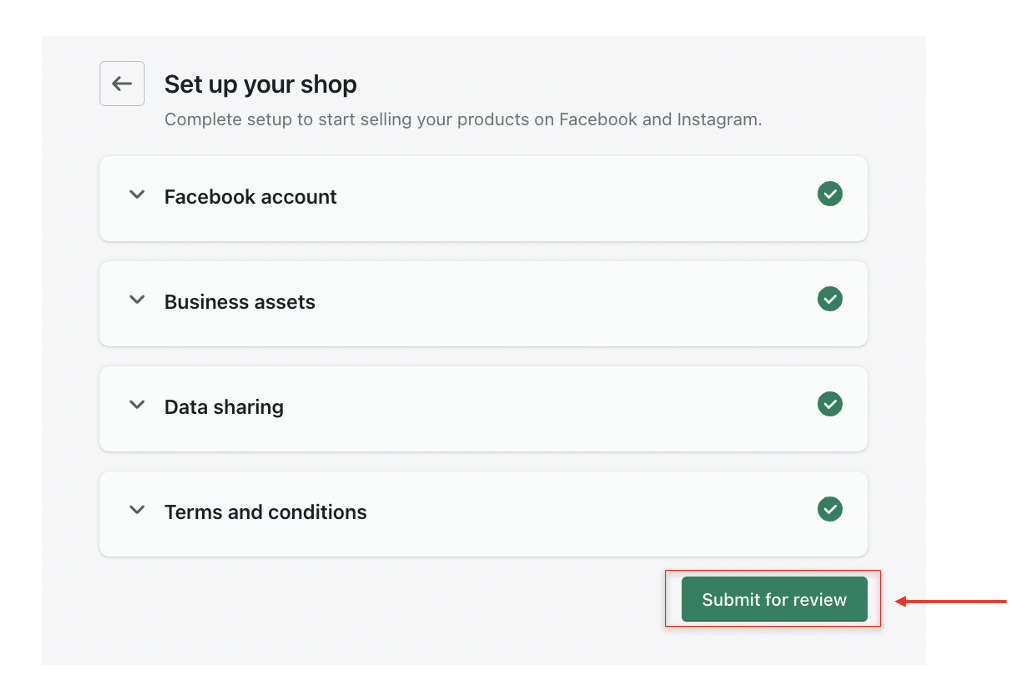
13. Now that this is ready, open your Facebook account Ads Manager and navigate to "Events Manager" to ensure your events are populated and the server connection is enabled.
14. To finish up, create a Facebook Ads campaign and let Conversions API start tracking and collecting your customer data.